sudo apt install autosshConfiguring Mainsail to be accessible from anywhere with Caddy secure login
25 February 2021
I shall make it a wildfire.
— Anomnder Rake
Lord of Moon's Spawn
Lord of Moon's Spawn
Reason
It is always helpful to be able to access the 3D printer from anywhere. With octoprint this is a eazy job: just expose it to the internet trough the router and create a secure password. Unfortunately, this technique does not function properly at all with Mainsail as it offers no authentication features. Even if it were to offer authentication, HTTPS will be a must.
In this guide I am going to show you how I secured my Mainsail installation.
| Please read the entire post twice before making any changes to your configuration. |
Requirements
You will need a cheap VPS or public server to act as a SSH exit node and as a web server that provides authentication both to Mainsail’s files and Moonraker’s API. To be able to get true HTTPS, you will need a domain name. You can get a free (sub)domain using DynamicDNS services easily. Some VPS providers (like Linode or AWS) already offer a free name linked to your VPS.
You will also need a working installation of Klipper and Moonraker on the printer’s Pi. A working installation of Nginx and Mainsail is not needed.
Caddy will be used as a webserver. It will provide both login functionality and automatic HTTPS using Let’s Encrypt certificates.
Troughout the guide, two machines are mentioned, as such:
-
Printer: Hostname
printer, Userpi -
VPS: Hostname
server, Userclockworks. DNS A recordprinter.lucaci32u4.xyzpoints to server’s IP.
Reverse tunneling
We’re going to use SSH to tunnel the printer port 7125 (Moonraker) to server port 7080. If you’re using a firewall (and you should!), only allow connections from localhost or 127.0.0.1 to this port. We’re not going to connect exterally here as Caddy will be acting as a reverse proxy.
AutoSSH
AutoSSH is a program that will start SSH sessions as they die and makes sure they don’t hang. It may happen because of bad network conditions.
Generate a SSH key pair on the RaspberryPI and copy the public key to the server. Finally, test the connection.
ssh-keygen
ssh-copy-id -i /home/pi/.ssh/id_rsa clockworks@printer.lucaci32u4.xyz
ssh -i /home/pi/.ssh/id_rsa clockworks@printer.lucaci32u4.xyz
System Service
Create a script in /usr/bin/forward-port.sh that starts AutoSSH.
#!/bin/bash

host='clockworks@printer.lucaci32u4.xyz'
key='/home/pi/.ssh/id_rsa'

while true; do
  autossh -M 0 \
          -o "ServerAliveInterval 30" \
          -o "ServerAliveCountMax 3" \
          -R 7080:localhost:7125 $host \
          -i $key \
          -N \
          || true
done
Create a SystemD service that creates the SSH tunnel at boot. Put the following content in /etc/systemd/system/forward.service:
[Unit]
Description=Forward ports to SSH gateway
After=multi-user.target

[Service]
Type=idle
User=pi
ExecStart=/usr/bin/forward-port.sh

[Install]
WantedBy=multi-user.target
Start the service.
sudo systemctl daemon-reload
sudo systemctl enable forward
sudo systemctl start forward
Allow Moonraker to accept connections from all IP’s. It will Caddy’s job will be to allow only logged in clients to access it.
Edit the trusted_clients section in ~/moonraker.conf as such:
[server]
host: 0.0.0.0
config_path: ~/klipper_config

[authorization]
enabled: true
trusted_clients:
    0.0.0.0/0
If all is configured correctly, you can see Moonraker’s port 7080 on the VPS:
(clockwokrs@server) ❯ sudo netstat -tulpn | grep 7080
tcp        0      0 127.0.0.1:7080          0.0.0.0:*               LISTEN      367/sshd: clockwork
tcp6       0      0 ::1:7080                :::*                    LISTEN      367/sshd: clockwork
We are done with configuring the printer.
Caddy installation
Caddy does not include all the authentication features necessary, therefore we will build a custom version. Luckily, Caddy includes an easy to use plugin system. xacddy is a command-line tool that builds Caddy from source with a specified set of plugins.
Install xcaddy and Go. Depending on your server operating system, you could install Go with the package manager, but Debian’s repos have an older, outdated Go version. Arch has a newer version that works.
sudo apt install -y debian-keyring debian-archive-keyring apt-transport-https
curl -1sLf 'https://dl.cloudsmith.io/public/caddy/xcaddy/gpg.key' | sudo apt-key add -
curl -1sLf 'https://dl.cloudsmith.io/public/caddy/xcaddy/debian.deb.txt' | sudo tee /etc/apt/sources.list.d/caddy-xcaddy.list
sudo apt update
sudo apt install xcaddy

cd /tmp
wget https://dl.google.com/go/go1.15.6.linux-amd64.tar.gz
sudo tar -xzvf go1.15.6.linux-amd64.tar.gz -C /usr/local/

echo 'export GOROOT=/usr/local/go' >> ~/.profile
echo 'export GOPATH=$HOME/go' >> ~/.profile
echo 'export PATH=$GOPATH/bin:$GOROOT/bin:$PATH' >> ~/.profile
source ~/.profile

# check go version
go version
We will be using the caddy-auth-jwt, caddy-auth-portal and caddy-trace plugins. Now to build caddy:
xcaddy build \
        --with github.com/greenpau/caddy-auth-portal \
        --with github.com/greenpau/caddy-auth-jwt \
        --with github.com/greenpau/caddy-trace

cp caddy /usr/bin/caddy
Create a SystemD service to start caddy at boot. Put the following in /etc/systemd/system/caddy.service
[Unit]
Description=Caddy
Documentation=https://caddyserver.com/docs/
After=network.target network-online.target
Requires=network-online.target

[Service]
User=root
Group=root
ExecStart=/usr/bin/caddy run --environ --config /etc/caddy/Caddyfile
ExecReload=/usr/bin/caddy reload --config /etc/caddy/Caddyfile
TimeoutStopSec=5s
LimitNOFILE=1048576
LimitNPROC=512
PrivateTmp=true
AmbientCapabilities=CAP_NET_BIND_SERVICE

[Install]
WantedBy=multi-user.target
Creata a test config file in /etc/caddy/Caddyfile. Replace printer.lucaci32u4.xyz with your domain name.
printer.lucaci32u4.xyz {
  respond "Hello"
}
Start the service and check that it does not error out:
sudo systemctl daemon-reload
sudo systemctl enable caddy
sudo systemctl start caddy

# check that it's active and not dead/inactive
sudo systemctl status caddy

# check that HTTPS is working
curl https://printer.lucaci32u4.xyz
 => Hello
Caddy configuration
Mainsail static files installation
We will install mainsail’s static files in a directory in our home folder in the server.
mkdir -p ~/mainsail
cd ~/mainsail
wget -q -O mainsail.zip https://github.com/meteyou/mainsail/releases/latest/download/mainsail.zip
unzip mainsail.zip
rm mainsail.zip
Caddy authentication
First, create a file at /etc/caddy/users.json with the following content.
Replace the following things:
-
idan ID you can generate withuuidgen. -
usernamewith the username you wish to use. -
domainwith your domain. -
addresswith<username>@<domain>. -
hashwith the bcrypt hash of your desired password. This online password hasher does not send your data to their servers. It uses client-side javascript code to perform hashes.
{
  "revision": 1,
  "users": [
    {
      "id": "9c85ec80-26a6-4982-9efa-7ba14b8052db",
      "username": "clockworks",
      "email_addresses": [
        {
          "address": "clockworks@printer.lucaci32u4.xyz",
          "domain": "printer.lucaci32u4.xyz"
        }
      ],
      "passwords": [
        {
          "purpose": "generic",
          "type": "bcrypt",
          "hash": "$2a$10$8zp5ANe2S2t3C5GVNPaONuoig.D7b6tR3fmpS/ikCMXiyOyMRguNa",
          "cost": 10,
          "expired_at": "0001-01-01T00:00:00Z",
          "created_at": "2021-02-15T14:46:11.044566665Z",
          "disabled_at": "0001-01-01T00:00:00Z"
        }
      ],
      "created": "2021-02-15T14:46:11.044565145Z",
      "last_modified": "2021-02-15T14:46:11.044565375Z",
      "roles": [
        {
          "name": "superadmin"
        }
      ]
    }
  ]
}
Next, update your caddy configuration file to provide authentication to both Moonraker and Mainsail. Replace the following things to reflect your configuration:
-
both
token_secretwith a newly-generated secret usinguuidgencommand. -
token_lifetimefield. This is how much time (in seconds) until you will be logged out automatically. I have set this to 2 hours for my configuration. -
the Mainsail static files path in
root * /home/clockworks/mainsail.
printer.lucaci32u4.xyz {
  route * {
    handle /login* {
      route /login* {
        auth_portal {
          path /login
          backends {
            local_backend {
              method local
              path /etc/caddy/users.json
              realm local
            }
          }
          jwt {
            token_name access_token
            token_secret 7ab9897f-b58d-42d3-a172-1077d6a87015
            token_lifetime 7200
          }
        }
      }
    }
    jwt {
      primary yes
      trusted_tokens {
        static_secret {
          token_name access_token
          token_secret 7ab9897f-b58d-42d3-a172-1077d6a87015
        }
      }
      auth_url /login
      allow roles superadmin
    }
    handle /printer* {
      reverse_proxy 127.0.0.1:7080
    }
    handle /api* {
      reverse_proxy 127.0.0.1:7080
    }
    handle /access* {
      reverse_proxy 127.0.0.1:7080
    }
    handle /websocket* {
      reverse_proxy 127.0.0.1:7080
    }
    handle /machine* {
      reverse_proxy 127.0.0.1:7080
    }
    handle /server* {
      reverse_proxy 127.0.0.1:7080
    }
    handle /* {
      root * /home/clockworks/mainsail
      file_server
    }
    header / {
      Strict-Transport-Security max-age=31536000
    }
  }
}
Restart Caddy to reload the new configuration.
sudo systemctl restart caddyNow open your browser, navigate to printer.lucaci32u4.xyz (replace with your domain) and you should be met with a login screen:
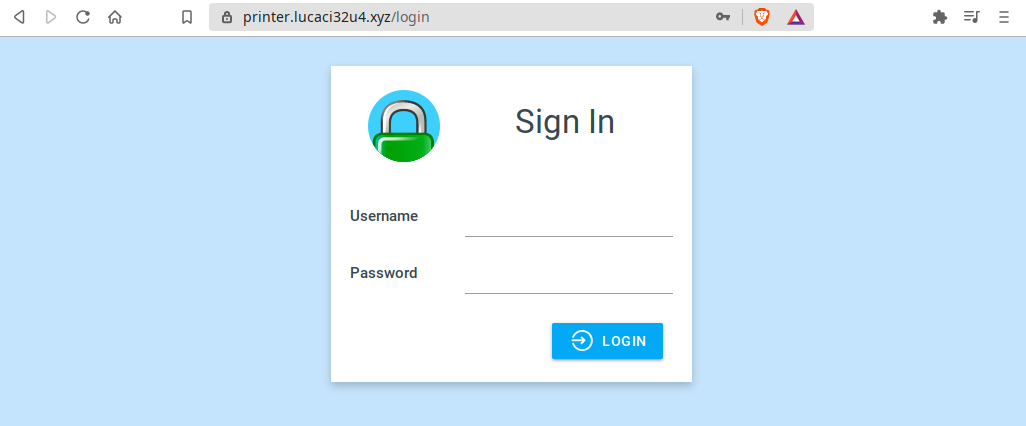
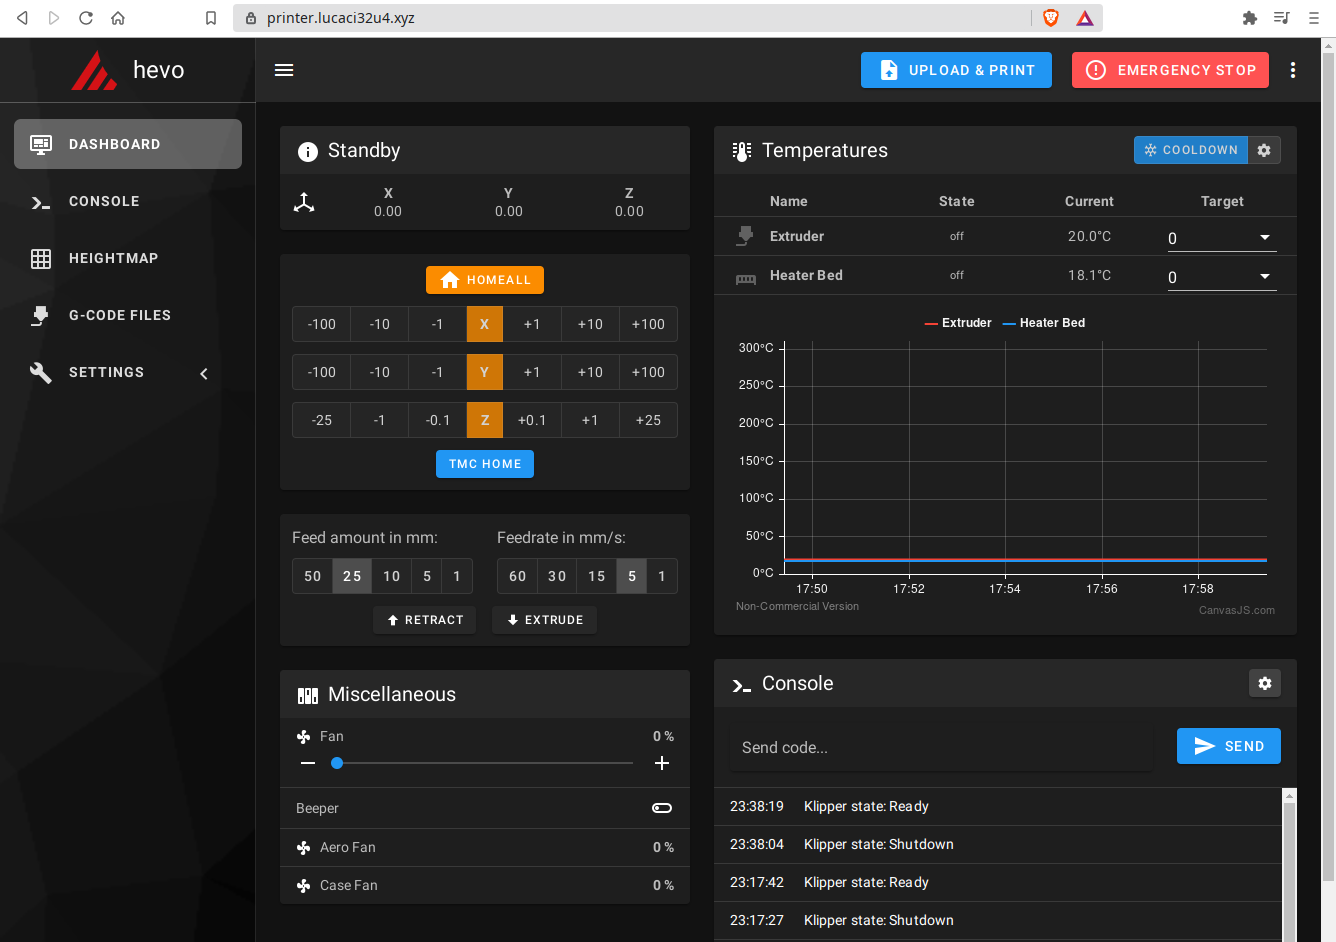
After logging in, the Mainsail screen appears and all should be working normally.
Notes
| This guide does not cover the setup of a webcam. Most likely that will require either a second SSH tunnel or Nginx installed on the Pi to act as a proxy. I will probabily update this guide in the future to cover that. I haven’t added a webcam yet because I’m close to my printer most of the time. |
| All ID’s, hashed passwords, JWT tokens secrets used in this guide do not relect my configuration - they have been regenerated. It is of no value to try to hack my printer :D |